How to install ram in your pc
Jul 16, 2012, by admin
 These instructions will assist you in installing memory (RAM) on your desktop computer. This article applies to desktop computers only.
Steps to install ram in your pc
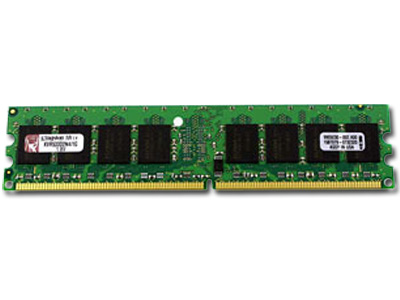
1.Find out what type of RAM is required for your desktop computer. The manufacturer can often recommend the exact RAM you need. (If you own a Dell, the Dell update software can provide a link to the exact RAM you need. There’s no need to purchase it from them, however.) Find out the PC type (e.g., PC2700), the RAM speed (e.g., 333 Mhz), and the capacity of your computer (e.g., 2 Gigabytes). It is vital to know how many RAM ports you have if you intend to buy more than one chip or you want to keep the chip(s) you have currently.
 2.Purchase RAM, which can be cheaper online. A good return policy in case you purchased the wrong type is worthwhile, as well as a warranty.
3.Turn off the computer and unplug it from everything.
4.Open your computer case. There is often a latch on the back of the computer that has a screw in it, so you may need a screwdriver (probably Phillips). Some new computers have a latch on the top (Dells). It will be easier to install the RAM if your computer is on a solid surface on its side, with the motherboard facing up toward you.
 5.Ensure that you do not have static built up on your body. Static can damage computer internals. Do not wear a wool sweater, do not drag your feet on carpet, and do not rub a balloon on your head unless it’s absolutely necessary. If necessary, you can purchase a small wrist band that can connect to a ground to prevent static discharge.
6.Once you have the case open and are free of static, you need to locate the RAM slots on your motherboard. Most of the motherboards in computers have 2 or 4 RAM memory slots. Most RAM slots are located on the top of the motherboard, on the right-hand side. You should see something in the computer that is similar to what you purchased.
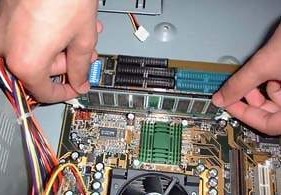
7.If you have an extra empty slot, put the new RAM in that one. If there is only one slot available, push the clamps open to release the chip. The clamps are on the side and are typically white. Push them toward the sides of the computer. There is one clamp on each end of the RAM chip. Remove old memory. Hold RAM by the ends, and do not touch the chips or metal connectors. The old memory may be kept or sold.
8.Look at any instructions that came with the new RAM. There may be something specific about the RAM that you need to know.
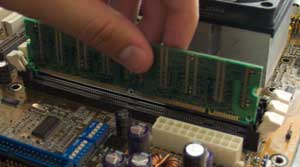
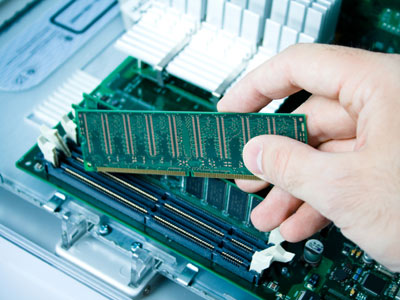
9.Look at the new memory and survey the motherboard memory slots. The RAM ports should have a nick in each memory slot. Hold the RAM chip carefully by the ends or plastic parts. Do not touch the metal or chips. Line up the notch on the motherboard with the notch on the new memory.
10.Press gently but definitely until the clamps close completely. You may need to push the clamps in toward the chip, but do so very gently. If the chip does not fit, do not force it. Try putting it in the other way.
 11.Repeat the previous steps for installing RAM if you have another chip. Additional chips may be more difficult to install because other chips reduce the amount of room for your fingers. Be careful.
12.Remove dust from the computer, if it’s dusty, using a bottle of compressed air. These are available at any office supply store. Do not blow air too closely at the computer. While you have the computer open, now is a good time to do this.
13.Close the computer and reattach all of the cords to the computer, including the screen and power cord. Turn on the screen and turn the computer on. The computer should present a screen that shows a message about detecting new memory and the amount of the new memory. The size displayed may not be accurately how much you purchased. Operating systems calculate memory differently and some computers offer a certain amount of RAM to specific functions (e.g., video), decreasing the amount available. For example, you may have purchased 1 Gigabyte of RAM. The operating system may only display 0.99 Gigabytes.
 14.If your computer runs faster, it worked! RAM will help with opening and closing programs. You should notice that programs start faster now. If not, there may be a problem with the RAM or you have too much RAM.
15.As a last check, check the system settings to make sure the RAM is okay. (In Windows, press and hold the Windows button and press the Break/Pause button on the upper-right of the keyboard. The RAM amount should appear in the lower part of the menu.) The system settings will probably say less than the amount you installed, e.g., 0.99 G for 1 G of RAM.
16.You have just installed new RAM.

