OpenCart Tutorial – How to Install OpenCart on your Web
May 28, 2012, by admin
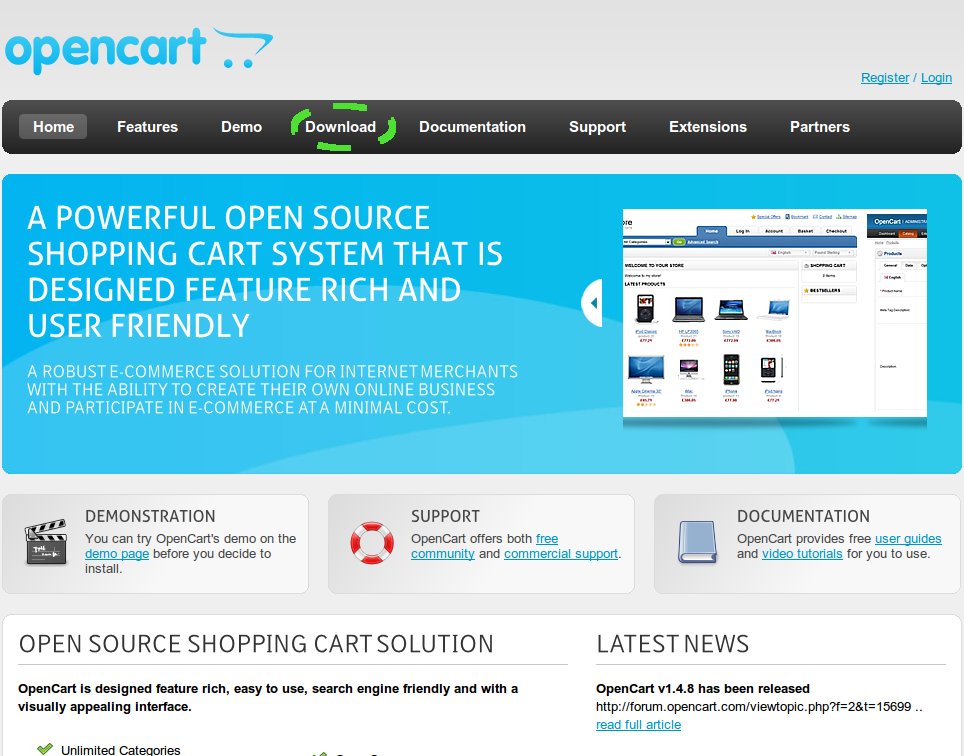 OpenCart Installation
Bugtreat team is proud to present to you the first collection of OpenCart text tutorials available on the Internet. Our wide-ranging step by step tutorials will teach you how to create and manage a website using OpenCart e-commerce application.
 All OpenCart tutorials have been written for people who wish to create their online store with as little technical knowledge as possible. What helped us create our tutorials this user-friendly is the information that when it comes to management and customization OpenCart itself is one of the easiest ecommerce shopping carts.
 This set of tutorials is just a small part of the free resources that Bugtreat team presents to all OpenCart users. Our OpenCart tutorial includes all the needed tools and services that one would ever need in order to build an attractive and successful online store.
The first step to starting your online store with OpenCart is installing OpenCart script on your hosting account. This can be done in a few simple steps.
First you must login to cPanel and select the Softaculous Script Auto installer.
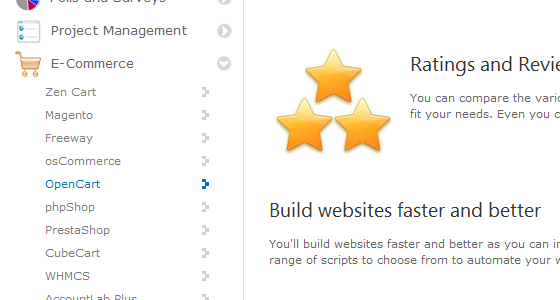
Once you have done that, select the E-Commerce category and then click on OpenCart from the dropdown menu.
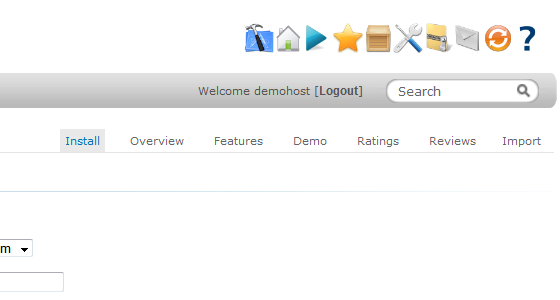
Once you have selected OpenCart, click on the Install button on the upper right corner of the page.
This will display the needed configuration page before your script is installed.
In the first section you need to select on which domain the OpenCart will be installed and how to be accessed.
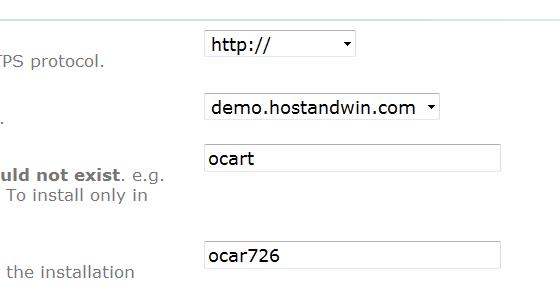
Unless you have an SSL certificate already purchased and configured, please leave the “http://” in the “Choose Protocol” dropdown.
Then select the domain name you want your store to be installed on.
Leave the “In Directory” box empty if you wish your store to be directly accessible by your domain.
If you type “opencart” for an example, your store url will become http://yourdomain.com/opencart/
You can also choose the name of the database which your OpenCart store will use to store its data in.
The Softaculous auto installer usually generates a random name and if you do not understand or need to change it, you can leave it this way.
The second section is about your store’s owner and contact information.
Here, you can type your contact details and store name. You can always change your contact information by configuring OpenCart from the OpenCart admin panel.
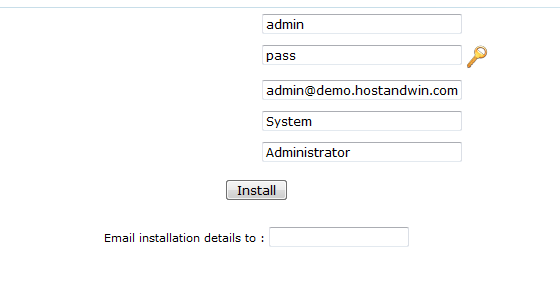 The last section is for configuring your OpenCart admin user and password.
 Once you enter the details for your admin user, hit the “Install” button and OpenCart will be installed on your account.


